Article: Deploying Liberty (Part 1)
HCL Launch provides a suite of tools to handle the build, release, and deployment phases of larger DevOps cycles. HCL Launch handles automating application deployments. It provides continuous delivery during agile development, and the auditing trails, version support, and approval trails needed in production. This article describes how to set up the deployment of a single Liberty server.
Before you start, access the HCL Launch Documentation in the HCL Information Center to install and set up your HCL Launch environment.
- I used HCL Launch 7.1.2 but the instructions apply to previous versions as well.
- Be aware that you will need access to a License server to complete the install.
- Install the IBM Websphere Liberty plug-in, an add-on to the base HCL Launch Server.
The order in which the HCL Launch objects are created in this article is slightly different from the recommended path:
Application → Components → Resources/agents → Environments
This is so that you can test a component process in isolation once the component is added to the application. This eliminates the need to create an application process before testing a component. This also allows the option of grouping any properties that can be re-used across components under the application property section.
The order recommended by the HCL Launch tutorial documentation is to create the components before the application.
1. Creating the HCL Launch Liberty application
An application is the collection of the components needed for automated deployment. Artifacts are the application files need for installation and components encapsulate the artifacts needed to install an application.
Create the Liberty application on the HCL Launch dashboard:
- From the Applications tab, click Create Application > New Application and give the application a name, such as
Liberty Profile Application.
- Any properties that can be referenced across multiple component designs can optionally be added to the application property section. Add the following properties:
liberty_directory, which resolves to the Liberty profile installation directory.liberty_jar_name, which resolves to the name of the installation JAR file.liberty_profile_directory, which resolves to the location of the Liberty profile server directory.liberty_serverName, which resolves to the name of the Liberty profile server.liberty_root, which resolves to the Liberty profile installation root directory.
Most of the properties used in the Liberty component process design are defined under Liberty Profile Application > Configuration > Application Properties. The same property can have different values by doing a re-declaration at the component, environment, and/or resource level. The property value is resolved based on object precedence.
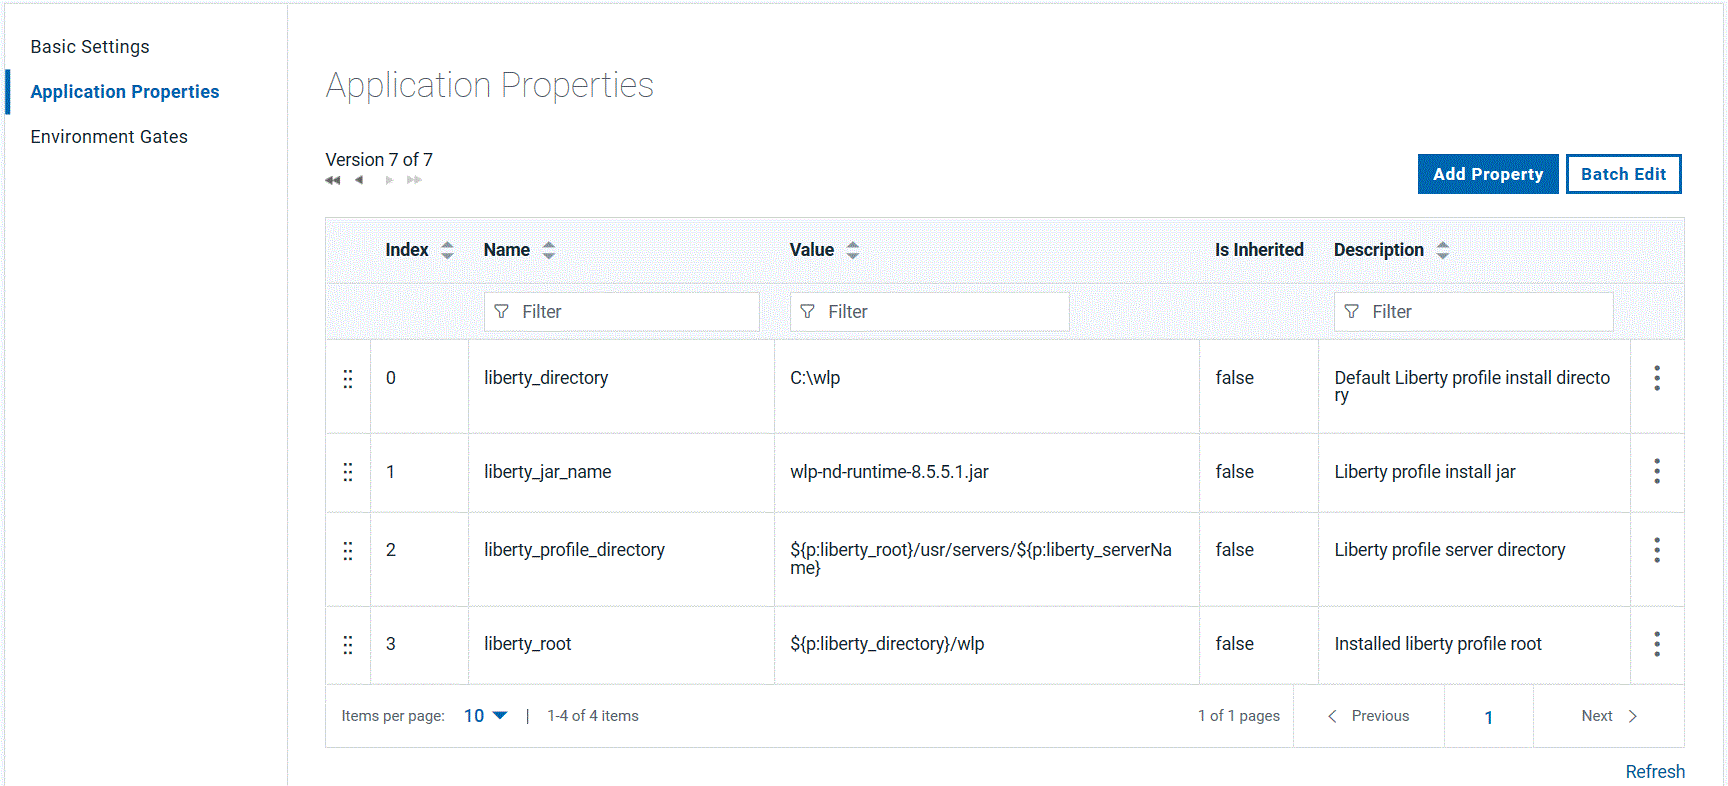
There are exceptions: for example; properties referenced in the component ‘basic setting’ panel did not resolve when only declared in the application property section. I added the following property in the component properties section.
liberty_install_resp, which resolves to the installation location of Liberty Repository.
See Properties in the Information Center.
You have now created an application called Liberty Profile Application. In the next section, create a component in the application called Liberty Component.
2. Creating an HCL Launch Liberty component
A component is the primary container for artifacts needed for the installation of the application. In this article, the Liberty Profile Installation file is the artifact.
- Click Create New Component and name the component
Liberty Component.
- Set Source Config Type to File System (Versioned). This is where the HCL Launch retrieves the artifacts from. Other sources such as Subversion and Maven are also supported.
- In the Base Path field, type the name of the
liberty_install_resp. This field does not auto-complete so ensure that you enter the name in the correct format (see Using properties).
- Check the Import Versions Automatically option. This makes HCL Launch poll for new artifact versions to manage.
- Check the Copy to CodeStation. This imports artifacts into the CodeStation. The amount of data in CodeStation can become an issue so you can configure the lifecycle of artifacts in CodeStation in the Settings view.
- Select the Use the system’s default version import agent/tag option to trigger the application processes using the system default agent/tag.
You have now created a component for the Liberty Profile Installation file by filling in the basic component information. Next, you must create the set of component processes needed to act on the Liberty Profile artifact.
3. Creating the component process
Create a process for the component Liberty Component.
- Click Create Process from the Processes tab and name the process as
Liberty Profile Install.
- Set the Process Type to Deployment and the Inventory Status to Active.
- During deployment automation execution, the target system’s local HCL Launch agent creates a default working directory with the component name. The target system’s local agent will download and store the component artifact in this default directory. By default, HCL Launch sets a server property as a reference to the component’s Default Working Directory value. You can reference the same server property in your process design. Notice the Default Working Directory field is set by default.
You have now created the component process.
4. Creating the process design
We will now create the Liberty Profile Install process design for the Liberty Profile component with the following steps:
- Stop the previously running Liberty Profile.
- Delete the previous Liberty Profile installation.
- Download the Liberty Install artifact to a component default working directory on the target system.
- Install Liberty profile.
- Create the Liberty profile server.
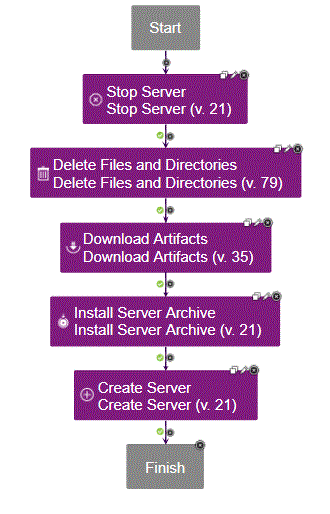
TIP: Create component processes as though the target systems already have an active deployment; in this example, Liberty Profile. Processing optionally continues past steps 1 and 2 if the server is not running or installed.
All of the following steps for the process design are available in the IBM WebSphere Liberty plug-in. You just need to add them to the design and configure certain settings.
- Add the Liberty Profile Stop Server step to the process design.
- In the Server Name field, type the name of the application property
liberty_serverName. Manage component and application properties from the Configuration panel (see also Using properties).
- In the WebSphere Liberty Installation Directory field, type the name of the application property
liberty_root.
- Leave the Working Directory field empty; it defaults to previously discussed Default Working Directory. HCL Launch creates a working directory with the name of the component. You can optionally reference the component’s default working directory as
${p:resource/work.dir}/${p:component.name}.
- Add the Liberty Profile Delete Files and Directories step to the process design.
- Set Working Directory to the installed Liberty server location.
- Set Base Directory to the current working directory.
When you change the working directory path, remember to review the Base Directory and Working Directory values. The base directory value is appended to the working directory value during process execution.
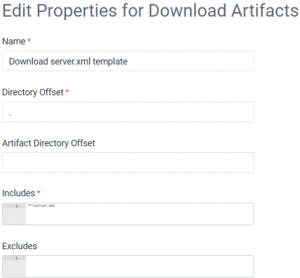
- Add the Download Artifacts step to the process design. Accept the default settings of this design step.
- Add the Liberty Profile Install Server Archive step to the process design.
Reference the application properties liberty_serverName and liberty_root again in this step.
- Add the Liberty Profile Create Server step to the process design.
Define other Liberty Profile component processes to be used with Liberty Profile application processes. The Liberty plug-in is used in designing the following component processes:
Component Process Design: Uninstall Liberty Server
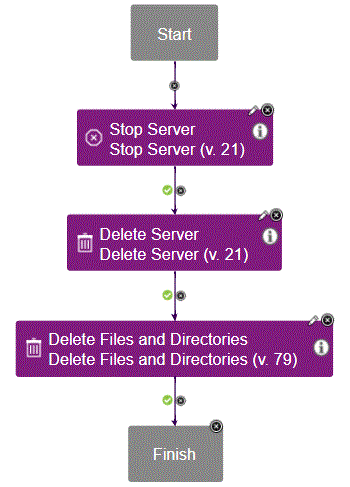
Both steps use the Liberty plug-in support.
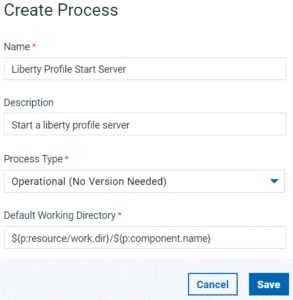
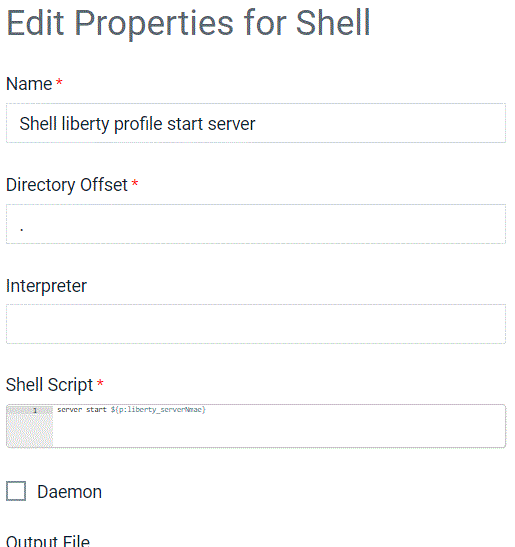
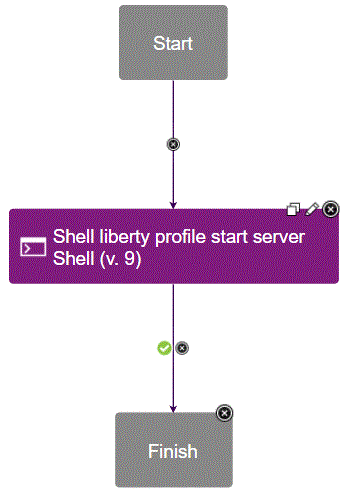
Component Process Design: Start Liberty Server
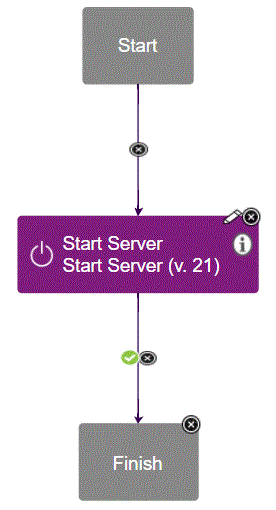
Component Process Design: Stop Liberty Server
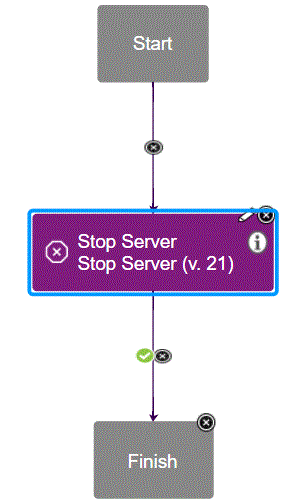
The Liberty Profile Stop Server step uses Liberty plug-in support.
5. Integrating the component into the Liberty Profile application
With the Liberty Profile component processes created, associate the component with the Liberty Profile application. In the application, click Add Component and select the component name.
6. Creating resources for the Liberty Profile application
Resources are generally the HCL Launch application deployment targets; a server, for example. Any systems with HCL Launch agents installed will show up in the Resources > Agents panel of the administration dashboard. Include agents in new or existing top-level group declarations to make them available for application deployments.
- Create a top-level group called
Liberty Windows Group.
- Add any target deployment system agents to the group. For the component processes to run, the component needs to be registered with the system agent.
- Add the component to an agent in the Resource view.
7. Creating an application environment
- With the resources in place, create an application environment for
Liberty Profile.
- To complete creating the environment, add a top-level group resource.
8. Creating processes for the Liberty Profile application
With component, resource, and environment declared, the Liberty Profile application needs processes to manage the component process execution.
Create an application process:
- Click Create New Process.
- Name the process
Liberty Profile Install.
- In the Inventory Management field, select Automatic.
- In the Offline Agent Handling field, select Check Before Execution.
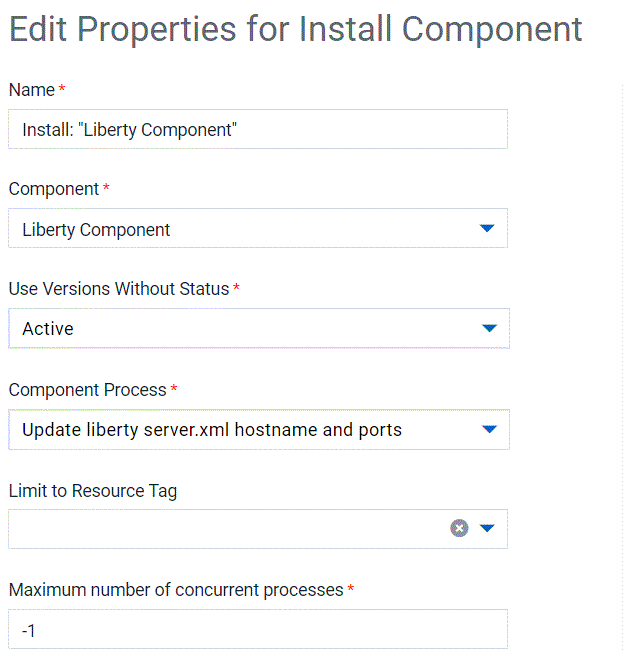
- Add a Liberty Profile component > Liberty Profile Install step to the new application process design.
- Add a Liberty Profile component > Liberty Profile Start Server step to the application process design.
- Organize the application process design steps as follows:

- Make sure that before doing a full deployment, test component processes. Access the Component page of the application, click Run Process, then click Submit to run the component process.
9. Running the deployment process
You’re now ready to run the deployment automation:
- Click the Request Process button next to the Environment definition to start the deployment.
- Clear the Only Changed Versions check box to force the overlay of previous deployments. This is useful for deployment automation testing.
The submitted process automation displays in an execution panel. The process request starts and completes a single Liberty deployment.
If you want to deploy across more servers, add additional agents to a new or existing top-level group resource. Applications deploy across multiple resources by adding them to an existing or new environment. Creating additional HCL Launch environments is another way to group systems and control deployments because environments are a specified option in running the application process.
In Part 2, we install a simple server application with the Liberty deployment.


 Steps
Steps
 Examples


